Virtual Private Network (VPN)

A virtual private network, or VPN, is designed to allow you a secure connection to an internal computer network from any location in the world using the Internet.

When working from an off-campus (remote) location, you can connect to the Missouri S&T network using OpenVPN to get immediate access to your network drives and other information only available on a network computer on campus. 

Using OpenVPN to connect to the S&T network while you are on campus is not permitted.

Install OpenVPN

  1. Download the campus profile to use with OpenVPN (to be used in Step 8): S&T OpenVPN Profile
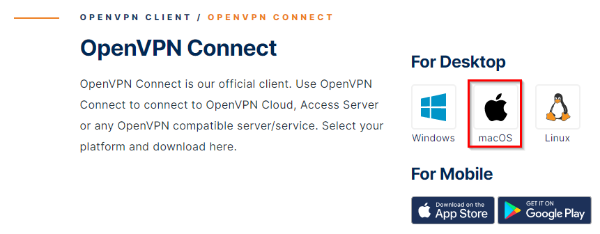
  2. Download the OpenVPN Connect Client: go to https://openvpn.net/vpn-client/.
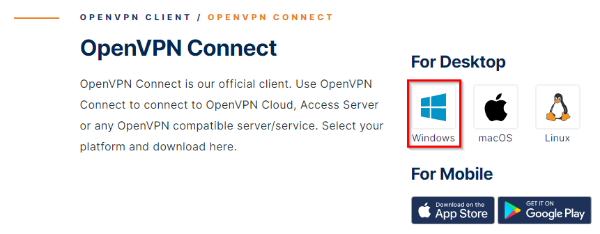
  3. Scroll all the way down to the bottom of the page, and select the Windows Button under the OpenVPN Client section.


  4. Follow the installation process on the screen and open the OpenVPN Connect Client and check the box to accept the license agreement to install the client.
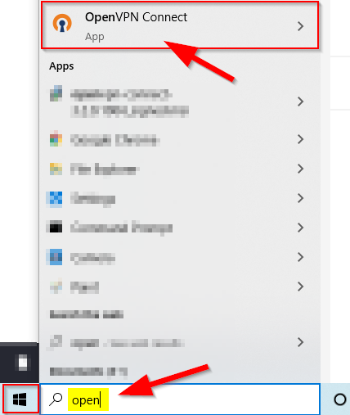
  5. Search in the windows search bar for OpenVPN at the bottom left of your screen, click on OpenVPN Connect.


  6. On the OpenVPN Client window, go through the onboarding tour. Then, close the tour, click Agree, and click Okay.
  7. Select the File tab at the top right of the window.
  8. Click on Browse.
  9. Locate and select the S&T OpenVPN Profile in the downloads folder on your machine, download is from Step 1.
  10. Enter your <username> or <username>@umsystem.edu.
  11. Check the box to save your password.
  12. Enter your password.
  13. Check the box to Connect after import.
  14. Click Add at the top right of the window.

When you connect to OpenVPN Connect in the future, you will open the client and select the toggle button to connect and disconnect the VPN.


  1. Download the campus profile to use with OpenVPN (to be used in Step 7): S&T OpenVPN Profile
  2. Download the OpenVPN Client: go to https://openvpn.net/vpn-client/.
  3. Scroll all the way down to the bottom of the page, and select the macOS button under the OpenVPN Client section.
     

  4. Follow the installation process on the screen and open the OpenVPN Connect Client and check the box to accept the license agreement to install the client.
  5. Find and open the OpenVPN Connect Client in Application within the Finder.
  6. Go through the onboarding tour. Then, close the tour, click Agree, and click Okay.
  7. Select the File tab at the top right of the window.
  8. Click on Browse.
  9. Locate and select the S&T OpenVPN Profile in the downloads folder on your machine, download is from Step 1.
  10. Enter your <username> or <username>@umsystem.edu.
  11. Check the box to save your password.
  12. Enter your password.
  13. Check the box to Connect after import.
  14. Click Add at the top right of the window.

When you connect to OpenVPN Connect in the future, you will open the client and select the toggle button to connect and disconnect the VPN.


A tutorial document with instructions for Ubuntu users to connect to the S&T campus network is linked below -

Setting Up OpenVPN for Ubuntu Users

Cherwell KB Article Instructions: