CLC Print Management - Web Print
The Web Print service allows users to initiate a print job from their local machine or device and then direct that print job remotely to a select few printers on campus. You do not need to be in a CLC to initiate this print job and can print from a dorm room or even from off-campus!
- You will still need to retrieve your print job from the printer where you sent the job, of course.
- The steps below will show you how to initiate a remote Web Print job.
- Web Print jobs count against your standard print quota.
WEB PRINT-CAPABLE CLCS
The links below connect to the PaperCut Mobile Release URL required to release a print job to a specific printer.
QR codes are posted at each location as well.
INITIATE WEB PRINT JOB
- Log into the Print Management system at papercut.mst.edu.
- Your userid, quota balance, total print jobs, and total pages printed should appear under summary. Click Web Print located in the left column.

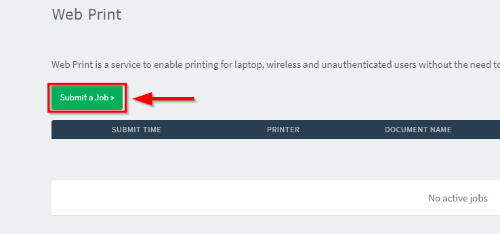
- Click Submit a Job in the upper-right corner of the Web Print screen.
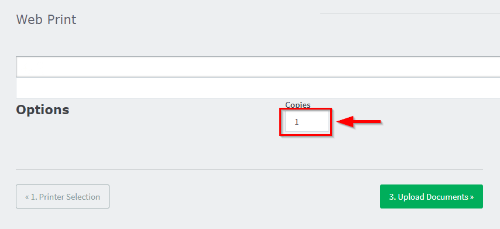
- Type in the number of copies to be printed.
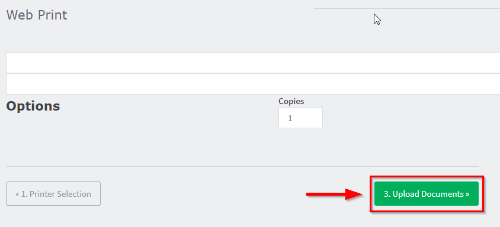
- Click Upload Documents.
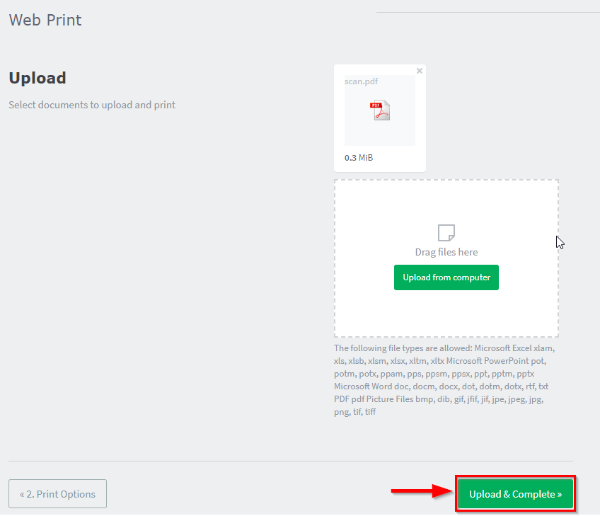
- Click Upload from Computer to add files to be printed. Search your local machine or network file storage for the documents.
NOTES: You can select multiple files to be added. You can click-and-drag files from an Explorer (Windows) / Finder (Mac) window, your desktop, etc. Each document will be printed the same number of times as you indicated in Step 6.
IMPORTANT: Only the file types listed are supported. Do NOT click Choose Files as this feature does not currently function in Web Print.
- Click Upload & Complete when you have finished selecting files.
- You will now see a screen indicating the current status of your Web Print job. Depending on the size of the job, it may take a few moments for the job to upload into the queue. Once the job has fully uploaded, you will see the total number of pages and how much it will count against your quota. You should also see the message “Held in a queue”. This indicates the print job is ready and waiting to be released to a printer at a time of your choosing.
WARNING! Print jobs will only be held in a queue for approximately 1 hour. After that time, the job will be removed from the queue, and you will have to start the Web Print process all over again.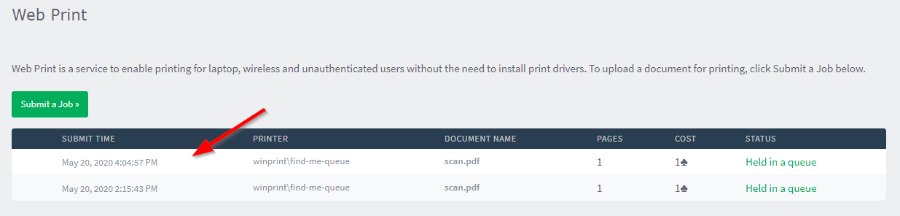
Release Web Print Job to Printer
After you have initiated a Web Print job, you will need to “release” the print job to your selected printer. Only then will the print job be printed.
- Login to papercut.mst.edu if you are not already logged in. You can login via smartphone/tablet/laptop/etc.
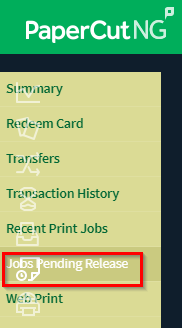
- Click Jobs Pending Release on the left-hand menu.
- You will see all jobs currently pending release. You will also see the current balance of your print quota.
NOTE:This number is the balance BEFORE your print jobs have printed.
- Click Release All to release all your print jobs. You will be asked to confirm that you want to release all of the print jobs.
- Click Cancel All to remove ALL your pending requests from the queue.
- Click Refresh Now to see an updated list of pending print jobs. The page will auto-refresh approximately every minute.
- Click Print next to the print job you want to release if you want to only release each print job individually. Click Cancel to remove that print job from the queue.
IMPORTANT: Print jobs will automatically be removed from the queue (and not printed) after approximately 1 hour.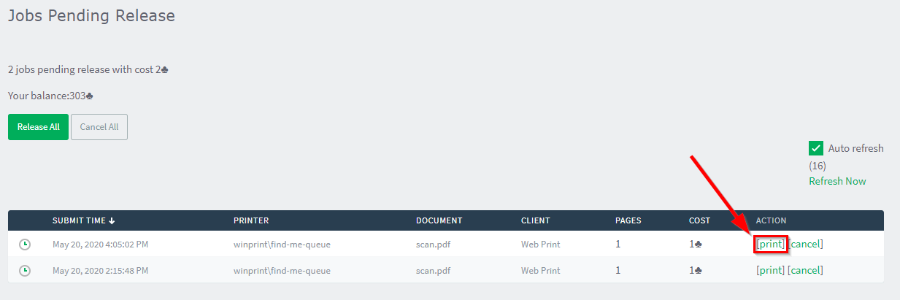
- Select a printer from the available list of printers.
WARNING! Your print job will be released to that printer as soon as you click on that printer, so be VERY certain that you have selected the correct printer!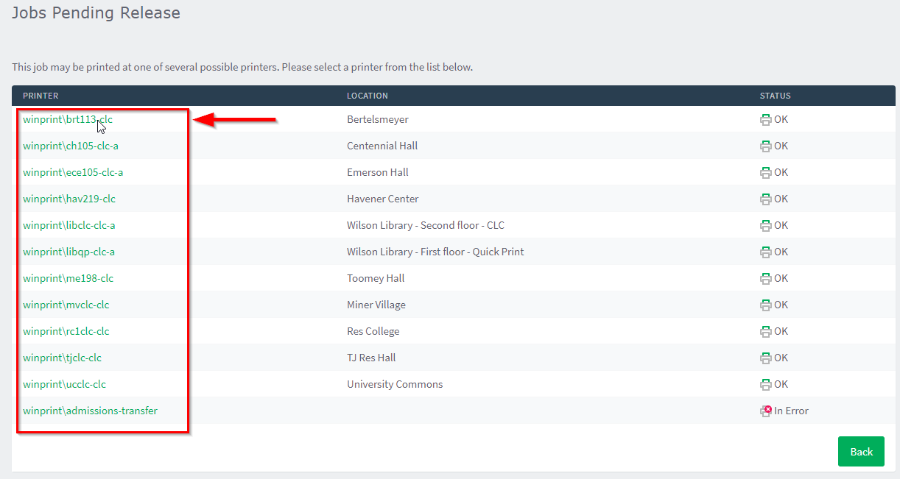
MOBILE RELEASE OF PRINT JOBS
QR Code Print Release
It is possible to use a QR code to release your print job at the printer instead of using a straight web interface. If you have a device capable of scanning in a QR code to go to a specific URL, then PaperCut will allow you to release your job in a couple of steps.
- Go to the printer where you want to print your job. IT will have a QR code located somewhere on or around the printer.
- Scan the QR code using a QR code reader app on your smart device. QR code readers are typically free from the various app stores and will vary from device to device.
- Login to PaperCut (papercut.mst.edu) using your S&T userid and password.
NOTE: You can store your credentials on your device so that you only have to login once. After that, the next time you scan a QR code on a printer, you will go directly into the mobile release interface.
- Tap Release to release your print job to the printer attached to the QR code or tab Cancel.
Mobile Links Print Release
You can release your print job using the listed links below per CLC printer. You log in with your userid and password, then lick the Release button on the bottom left to begin the print job.